I’ve been shopping for coolers this week in preparation for an upcoming build, and while there’s an endless variety to choose from on the market, there are very few well-suited for converting into a Frankencooler.
I prefer wheeled coolers in the 45 – 50 QT. range, as they usually have a lid large enough to accommodate two 4″ blowers, intake radiator, battery receptacle, motor controller, etc., but small enough to comfortably load in the back seat when full. The problem now is that wheeled coolers in this range are shorter in length and taller, resulting in lid areas that are too small for the components I use.
In order to have the longest possible ice retention times, I decided to go with the best wheeled 50 Qt. cooler I could find. After investigating, I settled on one made by a company called Kysek (Yeti will finally introduce a wheeled cooler in July). Before ordering one, I went to a local dealer to scope it out, and I’m glad I did.

While this thing was nearly a yard long (big enough for 4 blowers!) and weighed over 40 pounds empty, the interior volume was tiny, due to the insane amount of insulation Kysek uses. The interior height would actually be too shallow for the heat exchangers and insulated divider I’m going to use. When done, this thing would weigh in at over 70 pounds loaded – frankly more than I care to heft into the back seat of my wife’s car. I had to rethink my strategy.
Considering that the first thing one does when converting an ice chest into an air conditioner is cut numerous holes in the lid for the blowers, etc., I believe it’s more important to have interior height to allow for a thicker insulated divider over the ice than it is to have a super insulated 3″ thick lid. Add the fact that ice melt in a Frankencooler is primarily due to circulating ice water through radiators, and you soon realize that spending $400 for a cooler that can keep ice cold for a week is money wasted. It’s desirable that at least the lid be insulated with foam – something now common in many inexpensive coolers – and size and weight must be reasonable for those of us who don’t have pickups.
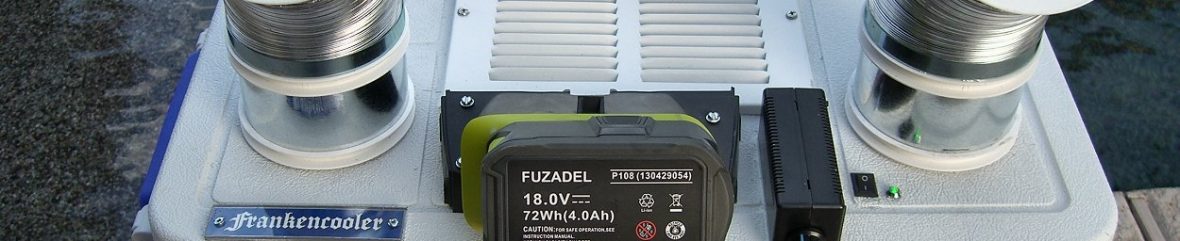
 Taking all of these factors into consideration, plus my desire to find a cooler with a smooth lid underside for easy heat exchanger mounting, I ended up going with a new-style gray and orange Coleman Xtreme 5 62 QT. wheeled cooler that I purchased for only $70 at a local sporting goods store.
Stay tuned to see this thing converted into a Frankencooler in an upcoming video!
Cant wait to see the Frankencooler2 !!!!
That makes two of us 🙂
Hi! Big fan of your cooler! I am trying to create a frankencooler for my 13 foot camper. I have a 50 quart Coleman rolling cooler and I was wondering if you think that I could use your design with only one blower instead of two since space in my camper is quite limited—but for the same reason would not need as much power to keep the space cool. Hopefully it would also save some battery power as I would like to use it often in boondocking situations. Would love to know your thoughts and how you might propose I modify the plans. Will buy my plans and components from you!
Another question- you said that it would run for several hours on that battery, do you know how many exactly? I realize my design modification may change that as well.
Thank you so much for your time, and your invention!
Hi Sarah, thanks for your comments.
I think it would work fine as long as you understand the limitations that a device dependent on ice and batteries brings.
If your camper has one or more deep cycle batteries, I would suggest adding a cig lighter power plug (or whatever type plug your camper may feature) on a 5 – 10′ lead so you can also run off the big batts as an option.
By using a single blower, you also save the expense of a second radiator. In fact, you would only need two small radiators, saving the expense (and space) of the larger model needed to feed two blowers. (If you decide to go this way, contact me and I will create the right package). On the other hand, if you are cooling two people at close quarters, having two blowers is a godsend. With the unit sitting 4 – 5 feet in front of two people, each person gets a cooling stream or air. Placing a simple off-and-on switch on one blower always gives you the option of turning one off if not needed in order to save electricity. One cool feature of this design is that when one blower is turned off, the radiator under it becomes a second chilling inlet, providing further cooling to the air being exhausted by the one running blower. Anyway, the decision to go one or two blowers is yours – there are advantages to both ways.
As I mentioned in my article on batteries, while the plug-in cordless power tool batteries are handy, they pale in comparison to power cells like the one I used on the grey and orange cooler in my last video. For under $150 I purchased a 12 amp hour smart (onboard circuit equalizing charge and output) lithium iron phosphate battery and charger. Compare that to spending $35 for a 4 – 5 amp hour lithium aftermarket Ryobi battery, $50 for a charger, and $50 for a Ryobi fan (to take the detachable battery receptacle from).
I don’t know how long my new power cell will run (Actually, I am doing that very test this afternoon), but it should run at least 4.5 hrs on a charge (2 blowers) based on the fact the 4 Ah Ryobi batts I have been using run 1.5 – 1.75 hrs (2 blowers running at normal speed). The company I purchased this battery from (Bioenno Power) has a vast array of sizes at very reasonable prices. For instance, you can get a 6.5 in. x 4.31 in. x 3.3 in. 20 amp hour battery and charger for $212 (that’s like nearly 8 hr running time on 2 blowers).
Obviously, the biggest issue with any ice chest AC is the ice itself. My (older) coolers go through a 10 lb block in approx. 1.25 – 1.5 hrs, 2 blocks in 2 – 2.5 hrs, crushed and cubed ice produces colder tempts but do not last as long. Hopefully, my new better-insulated cooler with a 50% thicker divider panel between the ice and air will fare better – we’ll see. Regardless, keep in mind that for a good half hour after melt, there’s still plenty of cooling provided by the cold water. I have worked relatively comfortably in my 105-degree garage for well over 2 hrs in front of my crappiest cooler with a single block of ice.
Hope this answered your questions.
I have a question.?? I need to cool my furnished, windowless, very humid basement. Is this a good product for that ??
Mike Rauscher, Worcester, Massachusetts.